
How To Install Electric Car Charger At Home: Easy Guide
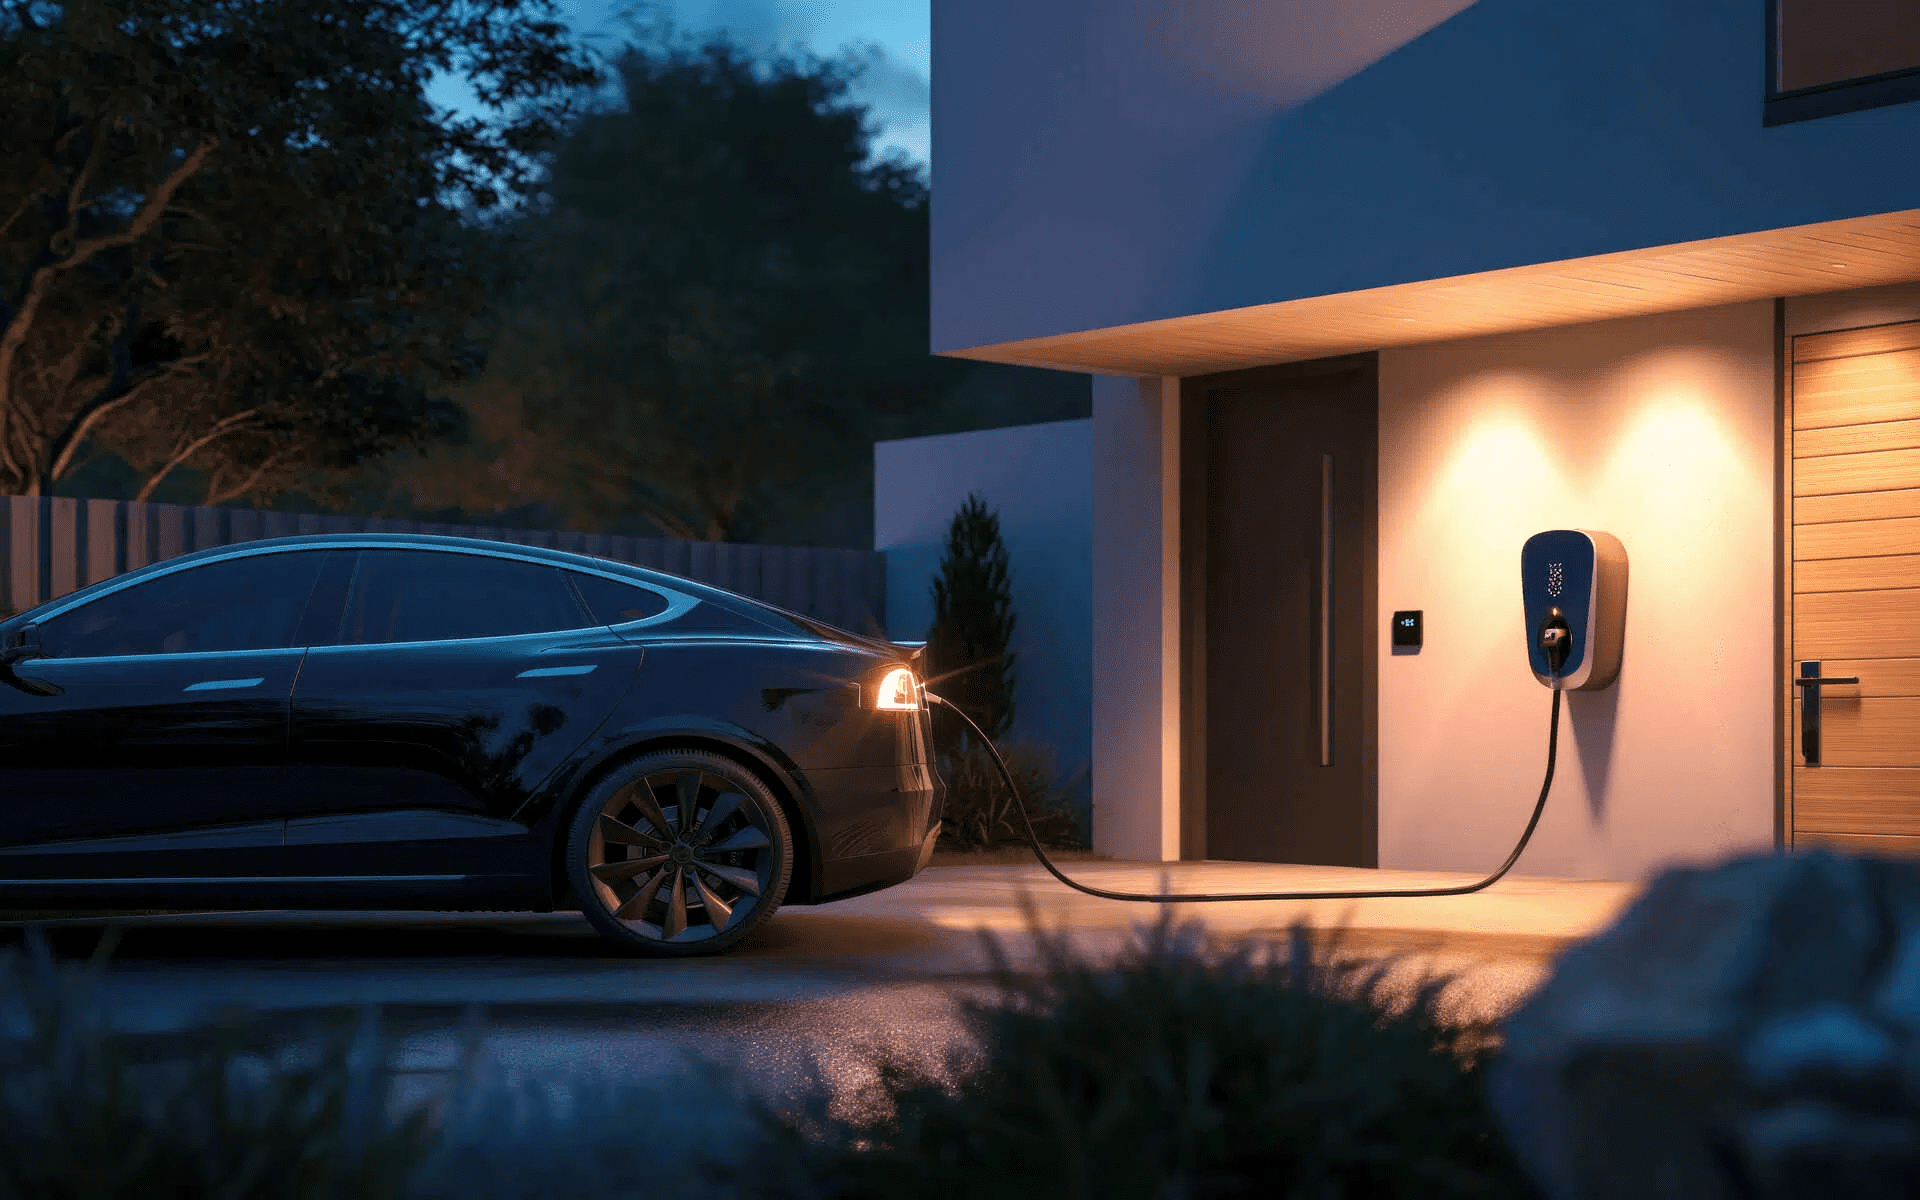
An electric car charger at home can turn charging from a weekly task into a simple overnight habit. You park, plug in, and wake up with more range. For many EV owners, home charging is also less stressful than planning trips around public stations.
The right setup depends on your vehicle, your home wiring, your parking spot, and your daily miles. A small plug-in charger may suit a renter or a driver with short trips. A hardwired Level 2 charger may be better for a family SUV, truck, or long daily commute. The safest choice is not always the most powerful one.
This guide explains how to install an electric car charger at home. It covers charger types, circuit needs, permits, costs, tools, safety, climate concerns, and when to hire an electrician. It also helps beginners, DIY homeowners, parents, and experienced EV drivers choose a setup that fits their needs.
Quick answer: The safest way to install a home EV charger
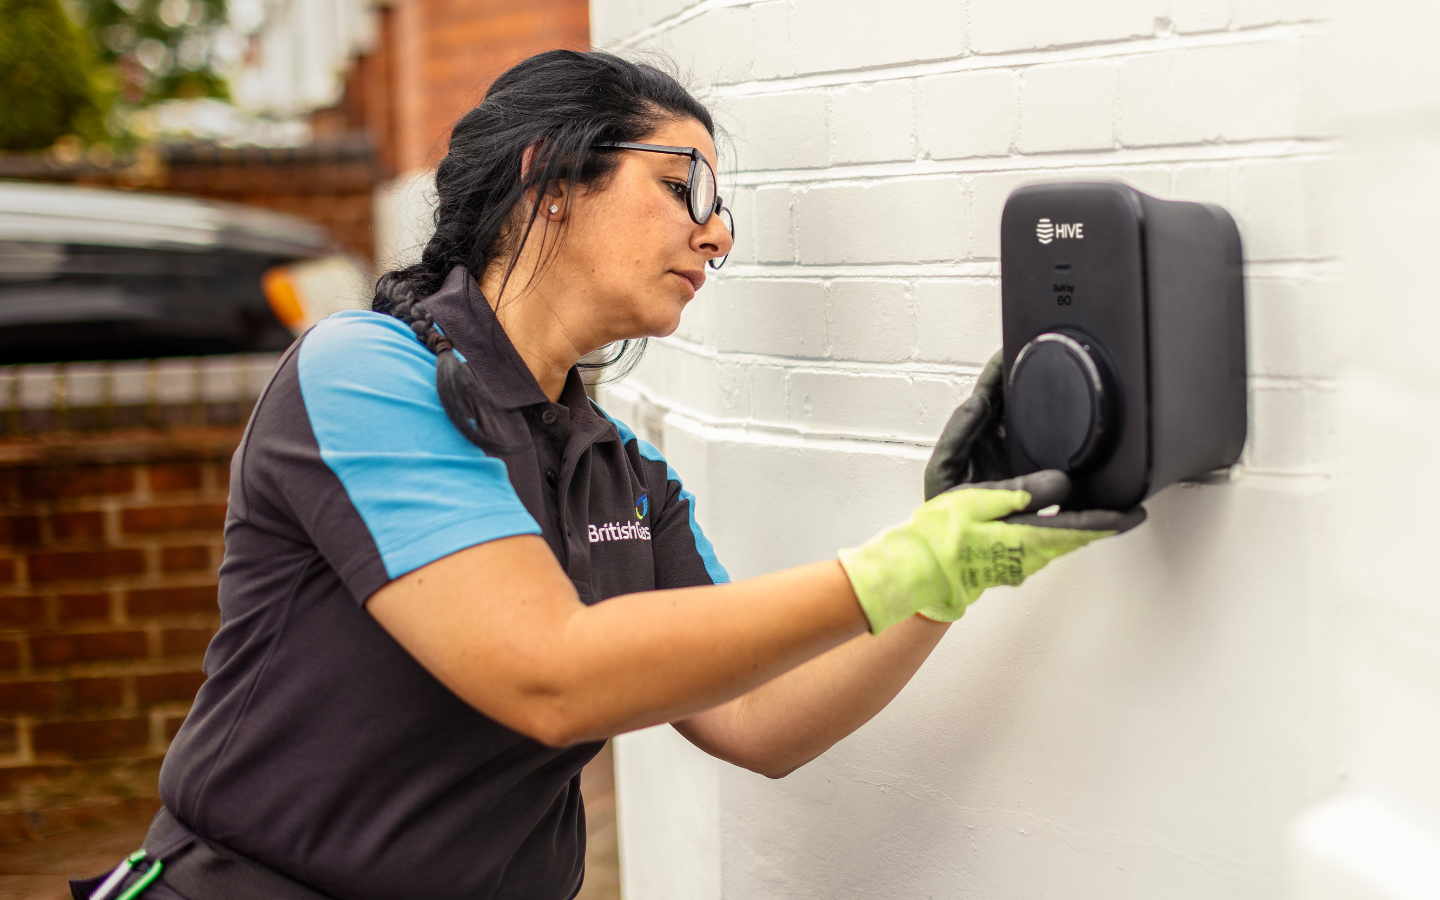
The safest way to install an electric car charger at home is to choose a charger that matches your vehicle and electrical service, then have a licensed electrician install the circuit and verify the final setup. A Level 2 charger often needs a dedicated 240-volt circuit, the correct breaker, suitable wire, GFCI protection where required, and a permit or inspection. Do not connect high-current wiring unless you are qualified and local rules allow it.

A basic Level 1 charger uses a regular 120-volt outlet. It is slow but simple. A Level 2 charger uses 208 or 240 volts and can add much more range during overnight charging.
The main difference between Level 1 and Level 2 charging is power. Level 1 usually adds about 2 to 5 miles of range per hour. Level 2 may add about 20 to 50 miles per hour, depending on the car, charger, circuit, weather, and battery state.
What you need before starting
A home EV charger installation has four main parts: the car, the charging unit, the electrical circuit, and the parking location. Check each part before you buy wire, a breaker, or a wall mount.
Check your EV’s charging limits
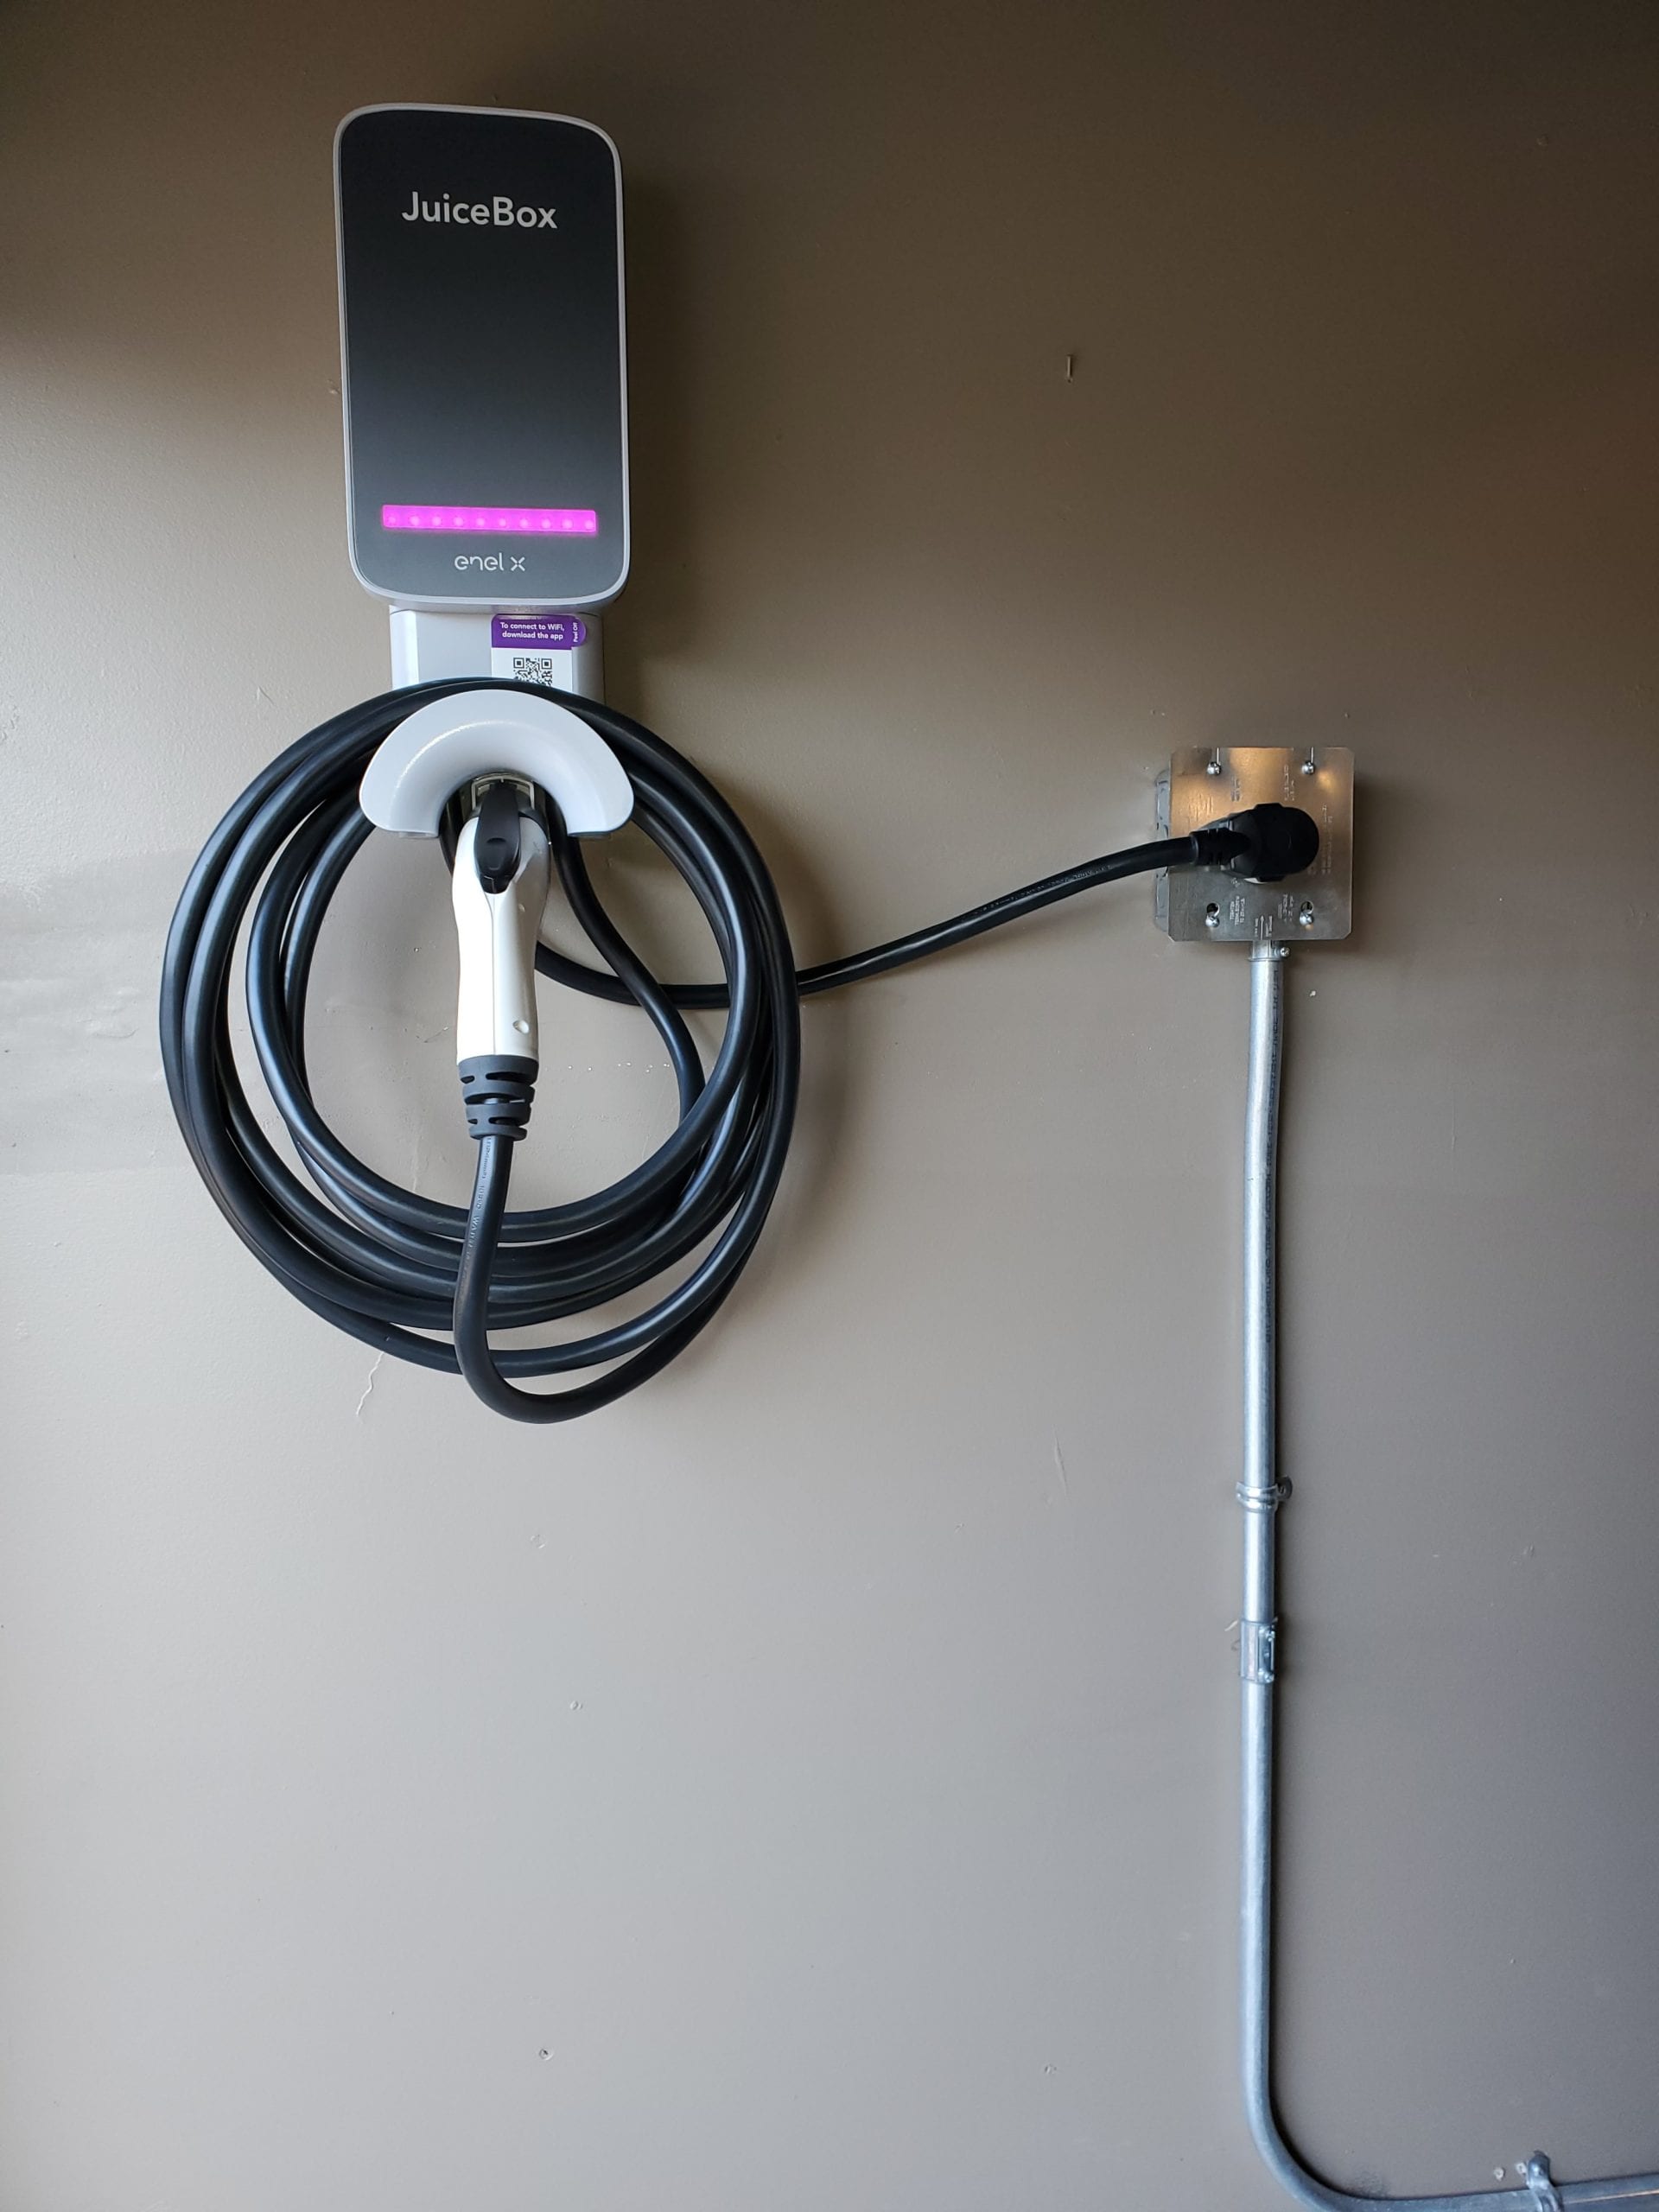
Your vehicle has an onboard charger. This part controls how much AC power the battery can accept. A charger rated at 48 amps will not make a car charge at 48 amps if the car can accept only 32 amps.
Check the owner’s manual or automaker app for:
- Maximum AC charging rate
- Recommended circuit size
- Connector type
- Charge port location
- Indoor and outdoor charging limits
- Required ground-fault protection
- Scheduled charging features
Most North American EVs use a J1772 connector for AC charging. Many newer vehicles use a North American Charging Standard, or NACS, connector. Some vehicles include an adapter. Confirm the connector before ordering.
A plug-in hybrid often has a smaller battery and a lower charging rate. For that driver, Level 1 may be enough. A large electric SUV or truck with a long commute may benefit from Level 2.
Review your electrical panel
Your electrical panel must have enough capacity for the new load. A 60-amp circuit does not mean your home has 60 amps available. The electrician must review the whole service, including existing heating, air conditioning, water heating, cooking, a hot tub, and other large loads.
Look for:
- Main service rating, such as 100, 150, or 200 amps
- Open breaker spaces
- Panel brand and model
- Existing circuit load
- Distance from panel to charger
- Indoor or outdoor cable path
- Main disconnect location
Older homes may have limited service capacity. Some panels also have safety concerns, corrosion, damaged wiring, or outdated equipment. A charger installation is a good time to correct those issues.
Measure the route to the parking spot
Measure the distance from the electrical panel to the planned charger location. Include vertical runs, bends, garage walls, and the path around doors. Then measure from the charger to the vehicle’s charge port.
A short cable route can reduce labor and wire cost. A long route may need larger conductors, conduit, trenching, or a subpanel. Do not assume the charger’s cord will reach because the product page lists a long total length.
This table gives a simple planning guide. Actual requirements depend on the charger, local code, and electrician’s load calculation.
| Item | What to check | Why it matters |
|---|---|---|
| Vehicle | AC charge limit and connector | Prevents buying more charger than the car can use |
| Panel | Service rating, breaker space, condition | Shows whether the home can support the load |
| Route | Distance, walls, conduit, trenching | Affects labor, wire size, and cost |
| Parking | Garage, driveway, carport, weather | Determines enclosure and mounting needs |
| Charger | Amperage, plug or hardwire, cable length | Sets circuit and installation requirements |
The key takeaway is simple: measure first and buy second. A charger with more peak amps is not automatically a better fit.
Confirm permits and utility rules
Many areas require an electrical permit and inspection for a new EV charging circuit. Some neighborhoods, apartments, and condominiums have extra rules. A utility may also offer rebates, managed charging programs, or time-of-use rates.
Ask your local building department or electrician about:
- Electrical permit requirements
- Inspection steps
- Approved charger types
- Outdoor installation rules
- Load-management requirements
- Rebates and tax programs
- Homeowners association approval
- Rental property permission
📜 Check Local Laws: Electrical rules vary by city and state. Confirm permit needs with your local authority and ask the electrician to handle inspection paperwork when possible.
Choose Level 1, Level 2, or a hardwired charger
The best charger type depends on your daily miles, parking time, battery size, and electrical budget. A commuter who drives 25 miles a day has different needs than a truck owner who travels 100 miles.
Level 1 charging
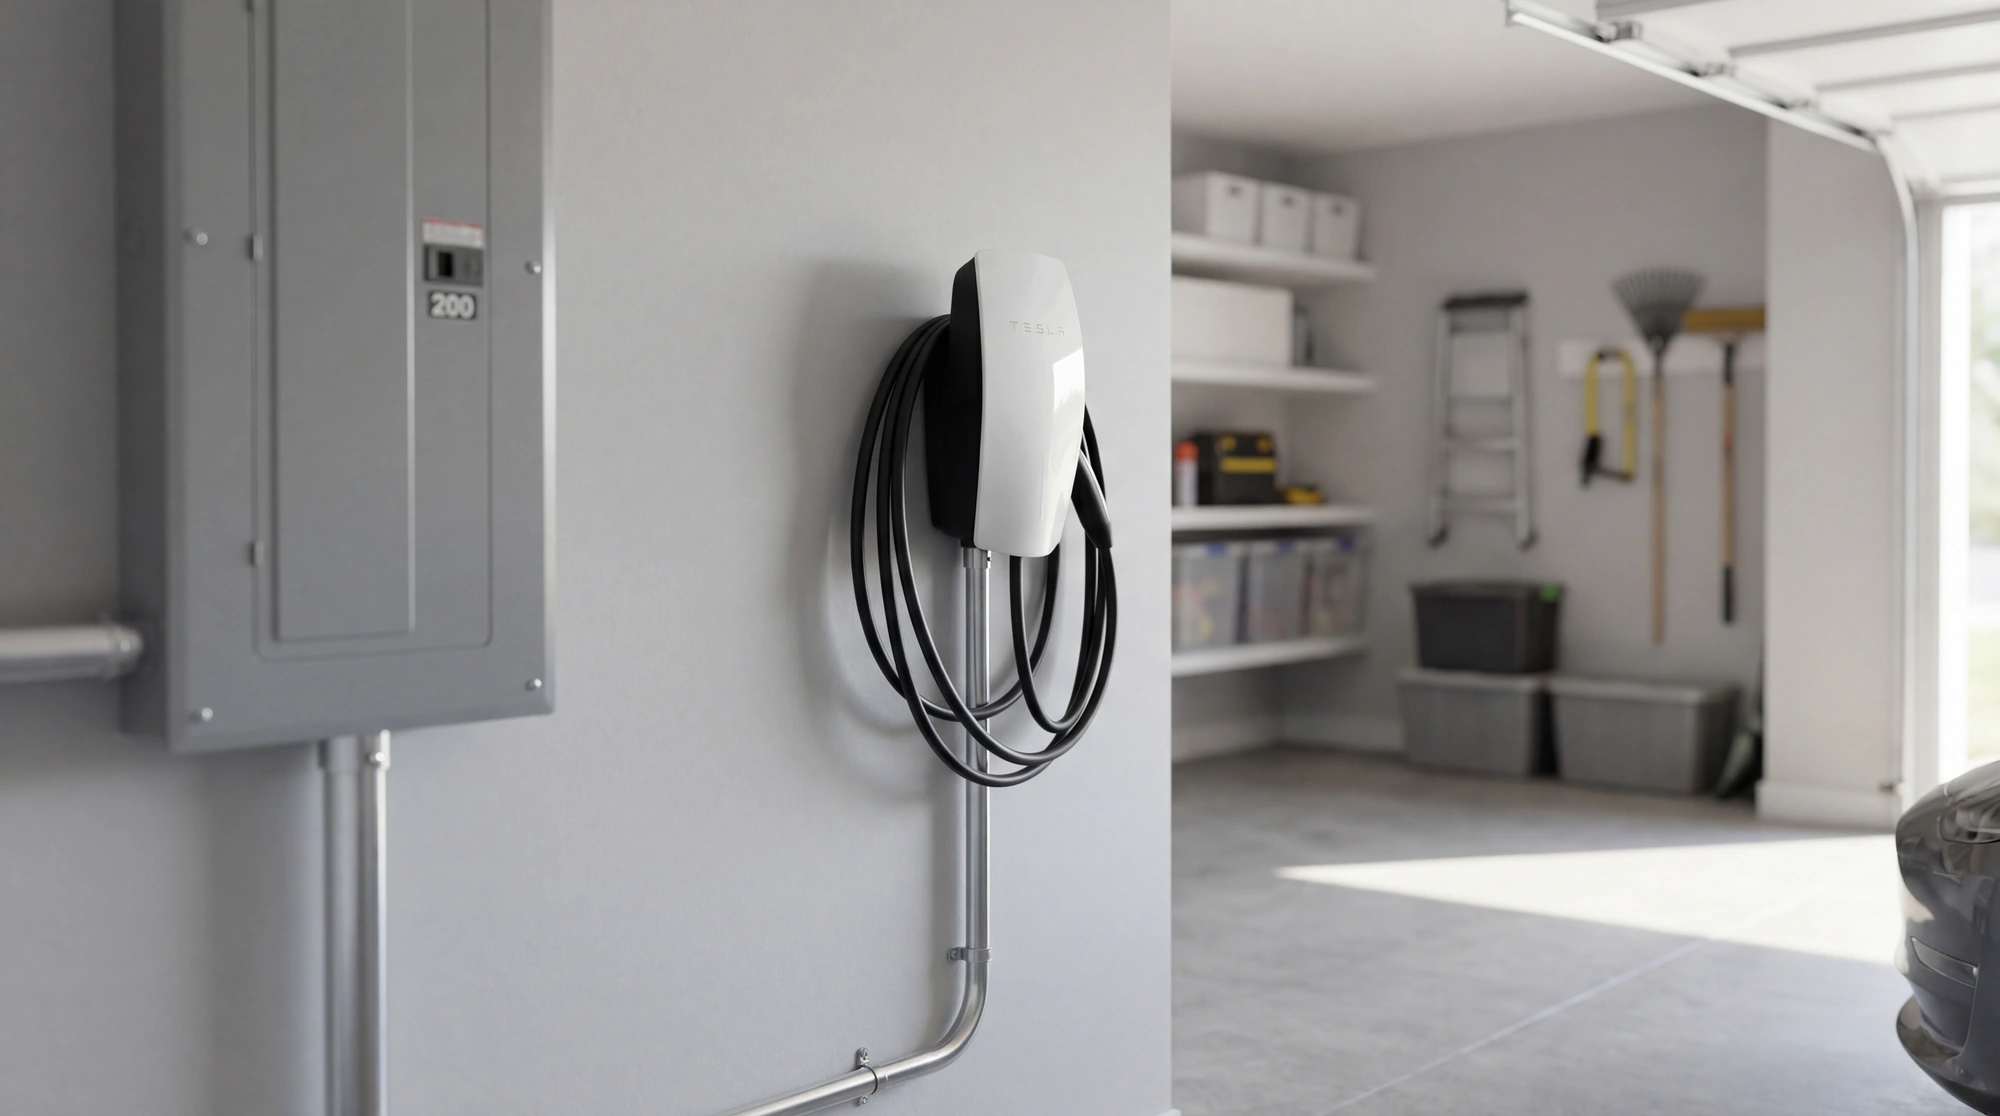
Level 1 charging uses a standard 120-volt household outlet. Many EVs include a portable Level 1 cable. It usually draws about 12 amps from a 15-amp circuit or uses a lower setting on a 20-amp circuit.
Level 1 can add roughly 2 to 5 miles of range per hour. A plug-in hybrid may refill overnight. A large EV with a low battery may need more than a day.
Use Level 1 when:
- You drive short distances
- You park for 10 or more hours
- You have a plug near the vehicle
- You rent your home
- You want the lowest installation cost
The outlet must be in good condition. Avoid extension cords, power strips, and loose outlets. Heat at the plug can signal a poor connection or overloaded circuit.
Level 2 charging
Level 2 charging uses 208 or 240 volts. It can add about 20 to 50 miles of range per hour. Many home chargers operate from 16 to 48 amps, though the vehicle may accept less.
A Level 2 charger suits:
- Daily commuters
- EVs with large batteries
- Electric SUVs and trucks
- Homes with two EVs
- Drivers who need fast overnight recovery
- Families sharing one parking area
Level 2 installation costs more because it needs a dedicated circuit and stronger wiring. It may be worth the money if faster charging saves trips to public stations.
Plug-in versus hardwired
A plug-in charger connects to a receptacle, often a NEMA 14-50 outlet. A hardwired charger connects directly to the electrical circuit inside a junction box or the charger itself.
| Setup | Typical use | Main benefit |
|---|---|---|
| Level 1, 120 volts | Light daily driving | Lowest cost and easy removal |
| Level 2 plug-in | Homeowners who may move the charger | Portable service and simple replacement |
| Level 2 hardwired | Frequent charging and outdoor installs | Cleaner fit and fewer plug connection concerns |
| Load-managed Level 2 | Homes with limited panel capacity | Can reduce peak electrical demand |
| Dual-charger setup | Two EV households | Supports two vehicles with proper planning |
A plug-in charger can be useful for renters and gift buyers who want flexibility. A hardwired unit often makes more sense for a permanent home installation, especially outdoors.
How many amps do you need?
A charger’s continuous current should not exceed 80% of the circuit rating under common electrical-code rules. For example, a 40-amp circuit may support a charger set to 32 amps. A 60-amp circuit may support a 48-amp charger.
Do not select a breaker based only on the charger label. The wire size, installation method, temperature rating, terminal rating, and local code all matter.
| Charger output | Common circuit size | Approximate power at 240 volts |
|---|---|---|
| 16 amps | 20 amps | 3.8 kilowatts |
| 24 amps | 30 amps | 5.8 kilowatts |
| 32 amps | 40 amps | 7.7 kilowatts |
| 40 amps | 50 amps | 9.6 kilowatts |
| 48 amps | 60 amps | 11.5 kilowatts |
These figures are planning examples, not a wiring prescription. An electrician must confirm the final circuit.
Safety and preparation come first
Electric vehicle chargers use high current for long periods. That makes installation different from plugging in a lamp or installing a phone mount. A mistake can cause heat, a shock, equipment damage, or a fire.

Read the charger installation guide
Download the latest manual before work begins. Check the manufacturer’s requirements for:
- Circuit amperage
- Wire size
- Conduit
- Grounding
- GFCI protection
- Mounting height
- Clearance
- Outdoor exposure
- Torque values
- Firmware setup
- Network connection
Manufacturers may require specific breakers or mounting surfaces. Some chargers must be hardwired. Others allow a plug connection only at a certain amperage.
Inspect the outlet or existing circuit
If you plan to use an existing 240-volt outlet, do not assume it is suitable. It may share a circuit with a dryer, welder, range, or another load. It may also use an old receptacle that was not designed for repeated high-current charging.
A loose or worn outlet can become hot. The electrician should inspect the terminals, box, wiring, grounding, and breaker. A new high-quality receptacle may be safer than reusing an old one.
Choose a safe mounting location
Mount the charger where the cable can reach the car without crossing a walkway. Keep it away from moving doors, sharp edges, standing water, and areas where a vehicle can hit it.
For garage installations:
- Mount on a solid wall or approved post
- Keep the cable off the floor
- Avoid blocking the garage door
- Leave room to unplug safely
- Protect the unit from vehicle impact
For outdoor installations:
- Use a charger rated for outdoor use
- Follow the manufacturer’s weather limits
- Use proper weatherproof fittings
- Protect the receptacle with an approved cover
- Avoid low areas that collect water
- Add bollards or a post if vehicles may strike it
⚠️ Safety Warning: Never open the service panel or work on live wiring. Turn off power only if you know the correct disconnect and verification method. When in doubt, stop and call a licensed electrician.
Plan for heat, cold, and water
Climate changes charging behavior. Cold batteries often charge more slowly until they warm up. Extreme heat can make the vehicle reduce charging power. Snow and ice can also damage a cable if it is dragged across sharp surfaces.
In hot areas, shade the charger when the manufacturer allows it. In cold areas, keep the cable flexible and avoid bending it sharply. Never place a connector in snow, puddles, or a wet bag.
If you want learn more motor tips, visit here.
Step-by-step: How to install an electric car charger at home
The steps below describe the normal process. The electrical work should be done by a qualified professional unless you have the legal authority, training, tools, and experience to perform it safely.

1. Select the charging location
Park the vehicle in its normal spot. Place the charger near the charge port side of the car. If you own two vehicles, consider both charge port locations before drilling holes.
Hold the charger at the proposed height. Check that the screen, buttons, and connector are easy to reach. Leave enough space for the cable to hang without touching the ground.
For a teen driver or a family vehicle, clear cable storage matters. A wall hook can help prevent trips and reduce wear. It also makes it easier for a new driver to plug in correctly.
2. Confirm the charger and circuit plan
Give the electrician the charger manual, vehicle information, and measured cable route. Discuss the target charging current. You may not need the highest setting.
The electrician should confirm:
- Service capacity
- Breaker size
- Conductor size
- Conduit type
- Grounding method
- GFCI protection
- Disconnect requirements
- Indoor or outdoor rating
- Load management
- Permit requirements
A lower-power Level 2 charger can be a smart choice if the panel is near its limit. It may charge more slowly but avoid a costly service upgrade.
3. Obtain the permit when required
The permit may be filed by the homeowner or electrician, depending on local rules. Do not skip this step to save time. An inspection creates a record that the circuit was installed and checked.
A permitted installation can also help during a home sale or insurance review. Keep the permit, inspection approval, charger manual, and electrical invoice in your home records.
4. Shut off and verify the electrical supply
The electrician will turn off the proper disconnect and verify that the circuit is de-energized with approved test equipment. Panel covers may still contain live parts even when a breaker is off.
This is one reason DIY installation can be dangerous. Turning off one breaker does not make every part of a panel safe. Only trained people should work inside it.
5. Install the breaker and wiring
The electrician routes the approved conductors from the panel to the charger location. The route may use conduit, finished-wall access, crawlspace access, attic space, or trenching.
The final wire size depends on current, distance, temperature, conduit fill, and local code. Long runs can create voltage drop. The electrician may need larger conductors to keep the charger operating correctly.
Do not substitute household cable, extension cords, or undersized wire. Never bury cable without the required depth, conduit, warning tape, and inspection.
6. Mount the charger
The charger should sit on a strong surface. Use the manufacturer’s template and hardware. A loose charger can pull on the wiring or fall from the wall.
For masonry, use anchors rated for the wall material. For wood framing, fasten to a stud or approved backing. For a post mount, use a stable foundation that can resist wind and accidental contact.
7. Connect the charger
The electrician connects the conductors according to the charger manual. Terminals must be tightened to the specified torque. Some models use a terminal block; others use a whip or junction box.
Correct torque matters. A loose terminal can create heat over time. An over-tightened terminal can damage the conductor or terminal.
8. Install the receptacle if the charger is plug-in
A plug-in charger needs a matching receptacle and a suitable box. The receptacle must be mounted securely and protected from moisture where required.
Do not use a common household outlet for a high-current Level 2 charger. A 240-volt circuit needs the correct two-pole breaker, conductors, grounding, and receptacle.
9. Test the circuit and charger
Before regular use, the installer should test voltage, grounding, GFCI operation when applicable, breaker function, and charger communication. The vehicle should begin charging without fault messages.
Check for:
- Warm or discolored plugs
- Error lights
- Repeated breaker trips
- Burning smells
- Flickering charger screens
- Damaged cable jackets
- Water inside the connector
A charger that trips once may need review. A charger that trips repeatedly should not be reset again and again.
10. Finish the app and vehicle setup
Many smart chargers connect to Wi-Fi or Bluetooth. The app may show energy use, charging schedules, firmware updates, and access controls.
Set a schedule if your utility uses time-of-use rates. Some vehicles can also schedule charging. Avoid setting schedules in both places if they conflict.
For a parent or gift buyer, create a simple charging routine. For example: plug in after parking, check that the indicator is on, and store the cable off the floor.

Tools and materials: What the installer may use
The exact tools vary by home and charger. A professional may use specialized electrical test equipment that most homeowners do not own.

| Tool or material | Purpose | Homeowner note |
|---|---|---|
| Two-pole breaker | Supplies 240-volt power | Must match panel and circuit design |
| Approved conductors | Carry charging current | Size depends on load and route |
| Conduit and fittings | Protect wiring | Type depends on location and code |
| Junction box | Protects wire connections | Must remain accessible when required |
| Torque screwdriver | Tightens terminals correctly | Use manufacturer torque values |
| Voltage tester and meter | Verifies power and voltage | Requires training to use safely |
| Wall anchors or mounting hardware | Secures charger | Match the wall or post material |
The main takeaway is that wire and breaker selection are not guesswork. A charger installation is an electrical project, not just a wall-mount project.
Common mistakes that cause trouble
Most home charging problems start with a poor circuit, a bad location, or a mismatch between the charger and vehicle. Avoiding these errors can save more money than buying the cheapest charger.

Using an extension cord
Extension cords can overheat, especially when used for many hours. They may also lack the correct grounding and weather protection. Use a properly installed outlet instead.
If the parking spot is far from the outlet, move the outlet or install a dedicated charger. Do not solve a permanent distance problem with a temporary cord.
Sharing the circuit with another appliance
A charger needs a dedicated circuit unless a listed load-management system is designed for shared use. Sharing a circuit with a dryer or welder can trip the breaker or overload the wiring.
A load-management charger can reduce power when other home loads are active. Confirm that the system is approved and compatible with your panel.
Choosing a charger with too much power
A 48-amp charger may look attractive, but it can require a 60-amp circuit. Your EV may accept only 32 amps. In that case, a smaller charger may deliver the same vehicle charging speed with lower installation cost.
Power should match the car and home. More is not always better.
Installing too close to the driveway
A charger mounted beside a driveway may be hit by a mirror, bumper, snowplow, or lawn tool. Place it where the vehicle can reach it but cannot easily strike it.
A protective post can help. It does not replace careful positioning.
Ignoring cable storage
A cable left on the ground can collect dirt, suffer tire damage, or become a trip hazard. Use the charger’s holder or a separate hook.
Never pull the connector by the cable. Press the release button and hold the connector body.
Skipping an inspection
An unpermitted installation may create trouble later. It can also hide errors that are not visible during normal charging. Use a permit and inspection when required.
| Mistake | Possible result | Better approach |
|---|---|---|
| Extension cord use | Heat, voltage drop, damage | Install a proper outlet or circuit |
| Undersized wiring | Overheating or nuisance trips | Use an electrician’s load calculation |
| Wrong connector | Charger cannot connect | Confirm vehicle port and adapter |
| Poor outdoor seal | Moisture and corrosion | Use rated fittings and covers |
| No cable holder | Trip and wear risk | Add secure cable storage |
| Oversized charger | Higher install cost | Match output to vehicle needs |
The safest setup is usually the one with fewer adapters, fewer loose connections, and a short protected path.
Installation time and cost
Home EV charger installation time can range from a few hours to more than a day. A short garage run near the panel is much easier than a detached garage that needs trenching.
Current pricing ranges from a modest amount for a simple outlet and circuit to several thousand dollars for a long run, panel work, trenching, or service upgrades. Check local quotes and current rebate programs rather than relying on a fixed online price.

| Installation situation | Time range | Cost level |
|---|---|---|
| Existing suitable 120-volt outlet | Minimal setup | Low |
| Short Level 2 garage run | About 3–6 hours | Low to moderate |
| Long indoor or outdoor wire route | Half to full day | Moderate |
| Detached garage with trenching | One or more days | Moderate to high |
| Panel upgrade or service work | Varies widely | High |
These are broad planning ranges. Permit fees, wall access, local labor, charger brand, wire length, and panel condition change the final quote.
Get at least two written estimates. Ask whether each quote includes the charger, breaker, wire, conduit, permit, inspection, wall repair, and app setup.
Beginner tips for a smooth first installation
A first-time EV owner does not need to understand every electrical detail. You do need a clear plan and a safe handoff between the vehicle, charger, and electrician.

Start with your daily driving. If you drive 30 miles and park for 12 hours, you may not need the highest-power charger. If you drive a large electric truck for work, faster Level 2 charging may be more useful.
Use the vehicle app to check charging history. This can show whether you need more power or simply a better schedule. A battery at 80% every morning may be enough even if the charger is not the fastest model.
Keep the charger clean. Wipe the housing with a soft, dry cloth. Do not spray water into the connector or use car wax, ceramic coating, pressure washers, or harsh chemicals on the charging unit.
Inspect the cable every few weeks. Look for cuts, crushed sections, bent pins, discoloration, or a loose handle. Replace damaged parts through the manufacturer or an approved service source.
A home charger does not replace road-trip planning. Carry the correct adapter if your vehicle needs one. Know where fast chargers are located, especially for winter trips or rural routes.
When to hire a professional
A licensed electrician is the right choice for most Level 2 installations. This is especially true if the charger is hardwired, the panel is old, or the wire must pass outdoors or underground.

Hire a professional when:
- You are unsure how to calculate circuit load
- The panel has no open space
- The home has a 100-amp service
- The charger needs a 60-amp circuit
- The route requires trenching
- The installation is outdoors
- You see corrosion, overheating, or damaged wiring
- A permit or inspection is required
- You need a panel or service upgrade
- You want two chargers
Ask the electrician about EV charger experience. Request a written scope and confirm the license, permit plan, warranty, and inspection process.
DIY work may seem cheaper, but electrical faults can damage a vehicle or home. A professional installation also gives you a clear person to call if the breaker trips or the charger fails.
How to maintain a home EV charger
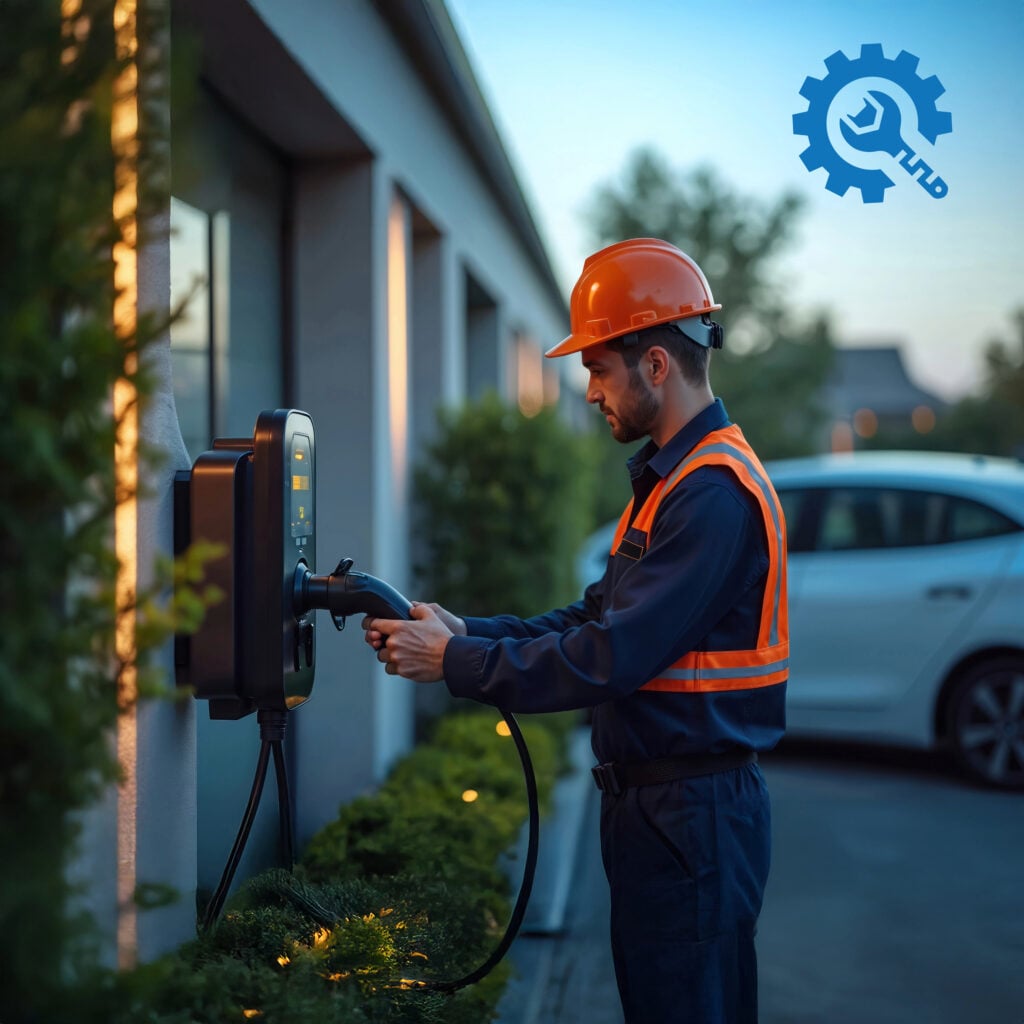
A home charger needs little routine care, but small checks can catch problems early. Maintenance matters more in wet, salty, dusty, or very cold climates.
| Check | How often | What to look for |
|---|---|---|
| Cable and connector | Monthly | Cuts, cracks, bent pins, heat damage |
| Wall mount | Every few months | Loose screws or movement |
| Plug and receptacle | Monthly for plug-in units | Discoloration, warmth, looseness |
| Charger housing | As needed | Dirt, impact, water entry |
| Breaker behavior | Every use | Nuisance trips or unusual heat |
| App and firmware | As advised | Updates and fault notices |
A plug or connector that feels hot is a warning sign. Stop charging and have the circuit checked. Mild warmth can occur, but the plug should not smell hot, show color changes, or become painful to touch.
Do not open the charger to clean the inside. Follow the manufacturer’s service rules. Replace worn parts with approved components.
🌿 Eco or Disposal Note: Recycle EV charging cables, damaged electronics, old batteries, and electrical parts through local programs. Do not place lithium batteries or electronic chargers in household trash.
Is a home EV charger worth the money?
A home charger is often worth the money for drivers who park at home most nights and use an EV for daily travel. It can reduce dependence on public charging and make charging part of a normal routine.
It may not be worth a large installation expense for a renter, a driver with very low mileage, or someone who cannot park near an electrical source. Level 1 charging or workplace charging may meet those needs.
For a family, home charging can be more convenient than sharing a public station. For a teen driver, it creates a clear habit: return home, plug in, and confirm the vehicle is charging. For a DIY owner, a smart charger can add useful control without requiring constant attention.
The value depends on more than charging speed. Consider installation cost, electricity rates, public charging fees, time, convenience, and how long you expect to keep the home and vehicle.
Alternatives when a full Level 2 install is difficult
A full 240-volt installation is not the only option. Several alternatives can work while you plan a larger upgrade.
Use Level 1 charging
Level 1 is the simplest choice for low-mileage drivers. It can work well with a plug-in hybrid, compact EV, or second vehicle.
Use a dedicated outlet. Have it inspected if it is old, loose, shared, or outdoors.
Install a lower-power Level 2 charger
A 16- or 24-amp charger may fit a home with limited electrical capacity. It can still add useful range overnight. The vehicle may reach the same morning charge as a higher-power unit if it has enough parking time.
Use managed charging
A load-management system can coordinate the EV with other electrical loads. It may reduce charging power while the electric dryer, heat pump, or water heater runs.
This option needs careful compatibility checks. Ask the electrician and charger maker whether the system is approved for your setup.
Charge at work or public stations
Workplace charging can reduce home charging needs. Public DC fast charging is useful for road trips, but it is not always the most economical daily option.
A balanced plan may use Level 1 at home, workplace charging during the week, and fast charging on long trips.
Questions to ask before you buy
A good charger should fit the vehicle, home, climate, and driver. Use these questions before placing an order:
- What connector does the vehicle use?
- How many AC amps can the vehicle accept?
- Do I need Level 1 or Level 2?
- Is a plug-in or hardwired setup better?
- How long is the cable?
- Is the charger rated for outdoor use?
- Does it need Wi-Fi?
- Does it support scheduled charging?
- Is load management available?
- Does the local utility offer a rebate?
- Is the warranty clear?
- Can the charger be serviced or replaced easily?
- Does the installation require a permit?
- Is the charger suitable for an apartment or shared garage?
- Can the cable reach both vehicles?
Avoid buying based only on a high amp rating or a low product price. The least expensive charger can become costly if it needs adapters, a longer circuit, or a replacement outlet.
FAQs of How To Install Electric Car Charger At Home
Q: Can I install an EV charger myself?
A: Some regions allow homeowners to perform certain electrical work, but Level 2 installation is not a simple beginner project. It may involve a new 240-volt circuit, a panel connection, grounding, torque specifications, permits, and inspection. Use a licensed electrician unless you have the required training and legal authority.
Q: Can I plug an EV charger into a dryer outlet?
A: Do not assume a dryer outlet is safe or compatible. It may be shared, improperly wired, worn, or located too far away. A qualified electrician should inspect the circuit and confirm that the charger and receptacle match.
Q: Does a 48-amp charger charge every EV faster?
A: No. The vehicle’s onboard AC charger limits charging speed. A car that accepts 32 amps will not charge faster simply because the wall unit can supply 48 amps.
Q: Is a 40-amp or 48-amp charger better?
A: A 40-amp charger may suit many homes and EVs because it uses a smaller circuit than a 48-amp unit. A 48-amp charger may suit a vehicle that accepts higher AC power and a home with enough electrical capacity. Choose based on the full installation, not the number alone.
Q: Can I install an EV charger outside?
A: Yes, if the charger is listed for outdoor use and installed with the required weatherproof fittings, enclosure, mounting, and protection. Keep the connector out of standing water and protect the cable from vehicles and sharp edges.
Q: How long does a home EV charger last?
A: Service life varies with design, use, heat, cold, moisture, and cable handling. The cable, connector, display, relay, or Wi-Fi hardware may fail before the main enclosure. Follow the maker’s maintenance and warranty rules.
Q: Can cold weather damage home charging?
A: Cold weather can slow battery charging and make cables stiff. The charger may continue to work normally, but the vehicle can limit power until the battery warms. Keep the connector clean and dry, and follow the vehicle’s winter charging instructions.
Q: Do I need Wi-Fi on my home charger?
A: No. A basic charger can work without Wi-Fi. Wi-Fi can add schedules, energy reports, remote control, and software updates. It may not be worth the extra cost if you prefer simple equipment or have weak garage internet.
Q: Can one charger serve two EVs?
A: Yes, but the power plan matters. You can move a portable unit, use a charger with load sharing, or install two circuits if the home supports it. Do not use a power strip or improvised splitter.
Q: Should I charge the battery to 100% every night?
A: Follow the vehicle maker’s guidance. Many EVs use a daily charge limit below 100% for routine use, while a full charge may be useful before a long trip. The correct limit varies by battery type and model.
Q: What should I do if the breaker keeps tripping?
A: Stop charging and do not keep resetting the breaker. A trip can indicate an overloaded circuit, wiring problem, charger fault, moisture, or vehicle issue. Have the installation checked by an electrician or the charger manufacturer.
Q: Can a portable charger replace a wall-mounted charger?
A: For some drivers, yes. A portable Level 1 or Level 2 unit can work if the outlet and circuit are correct. It may be less convenient for daily use and can suffer more wear if moved often.
Q: Are home EV charger rebates available?
A: Some utilities, cities, states, and vehicle programs offer rebates or special rates. Programs change often and may require approved equipment, a permit, or enrollment before installation. Check current local requirements.
Conclusion
The best way to install an electric car charger at home is to match the charger to the vehicle, confirm the home’s electrical capacity, plan a safe cable route, and use a qualified electrician for the circuit and final connection. Level 1 charging may be enough for short trips and plug-in hybrids. Level 2 charging is usually the better fit for daily EV commuters, electric SUVs, trucks, and homes with more than one vehicle.
Measure the parking area, check the connector, review the owner’s manual, and ask for a written installation quote. Choose sensible power rather than the largest number on the box. A well-planned charger should feel like part of the home: safe, tidy, easy to use, and ready whenever the car is parked.
